So, the idea of making a custom rubber stamp came up the other day.
Background
See, recently I made some laser cut bowls for family as a x-mas present. On the bottom I engraved a kind of logo or makers mark. I used the bear you see on this site with my name around it. Upon seeing the mark, family members got this great idea to make a custom rubber stamp for a specific person’s upcoming birthbay. This specific person has gotten into custom making holiday cards for people. It’s sort of like scrapbooking. The cards are really impressive. They should be claimed by the maker in some way. So how to make a rubber stamp?
First idea
I watch a lot of TheCrafsMan. I love watching the techniques he uses in making things that make him happy. More importantly though just listening to him explain something to soothing. I am also attracted to regional dialects and love his way with words. Anyhow, all that is to explain why my first thought was a 2-part silicone pour to make a rubber stamp. TheCrafsMan does a lot with 2-part silicone. For instance: Make your own STAMPS!.
Getting started
I need a design. I wanted to make something that wouldn’t be too large; this thing is going on holiday cards after all. This particular family member has always gone by the name Goose to the grandchildren. Clearly a goose would be appropriate. So I found a really good photo of one and traced the outlines into an svg file in the hopes of coming up with something that looked good and scaled well… Here’s what I ended up with:  I’m no artist.
Adding text to this, I tried 3d modelling a mold to pour silicone into. Putting this mold model into the 3d slicer(a step required to get the gcode file for the 3d printer) I noticed that I was loosing a lot of detail. My 3d printer uses a 0.4mm nozzle and it looks like I’m not going to be able to reproduce the kind of details I’m after.
Back to the drawing board
Should I hand carve it out of rubber? Can I get that kind of fine detail with hand tools? What if I had one of those little $300 CNC routers? Could I carve the stamp from MDF and make a mold of it? Thinking that’s the way to go I ordered a CNC machine. I found one for under $200 on the Amazon. I’ve wanted to learn how to use one of these for years so even if it didn’t work out I’m not really getting it just for this project.
The shipping wait
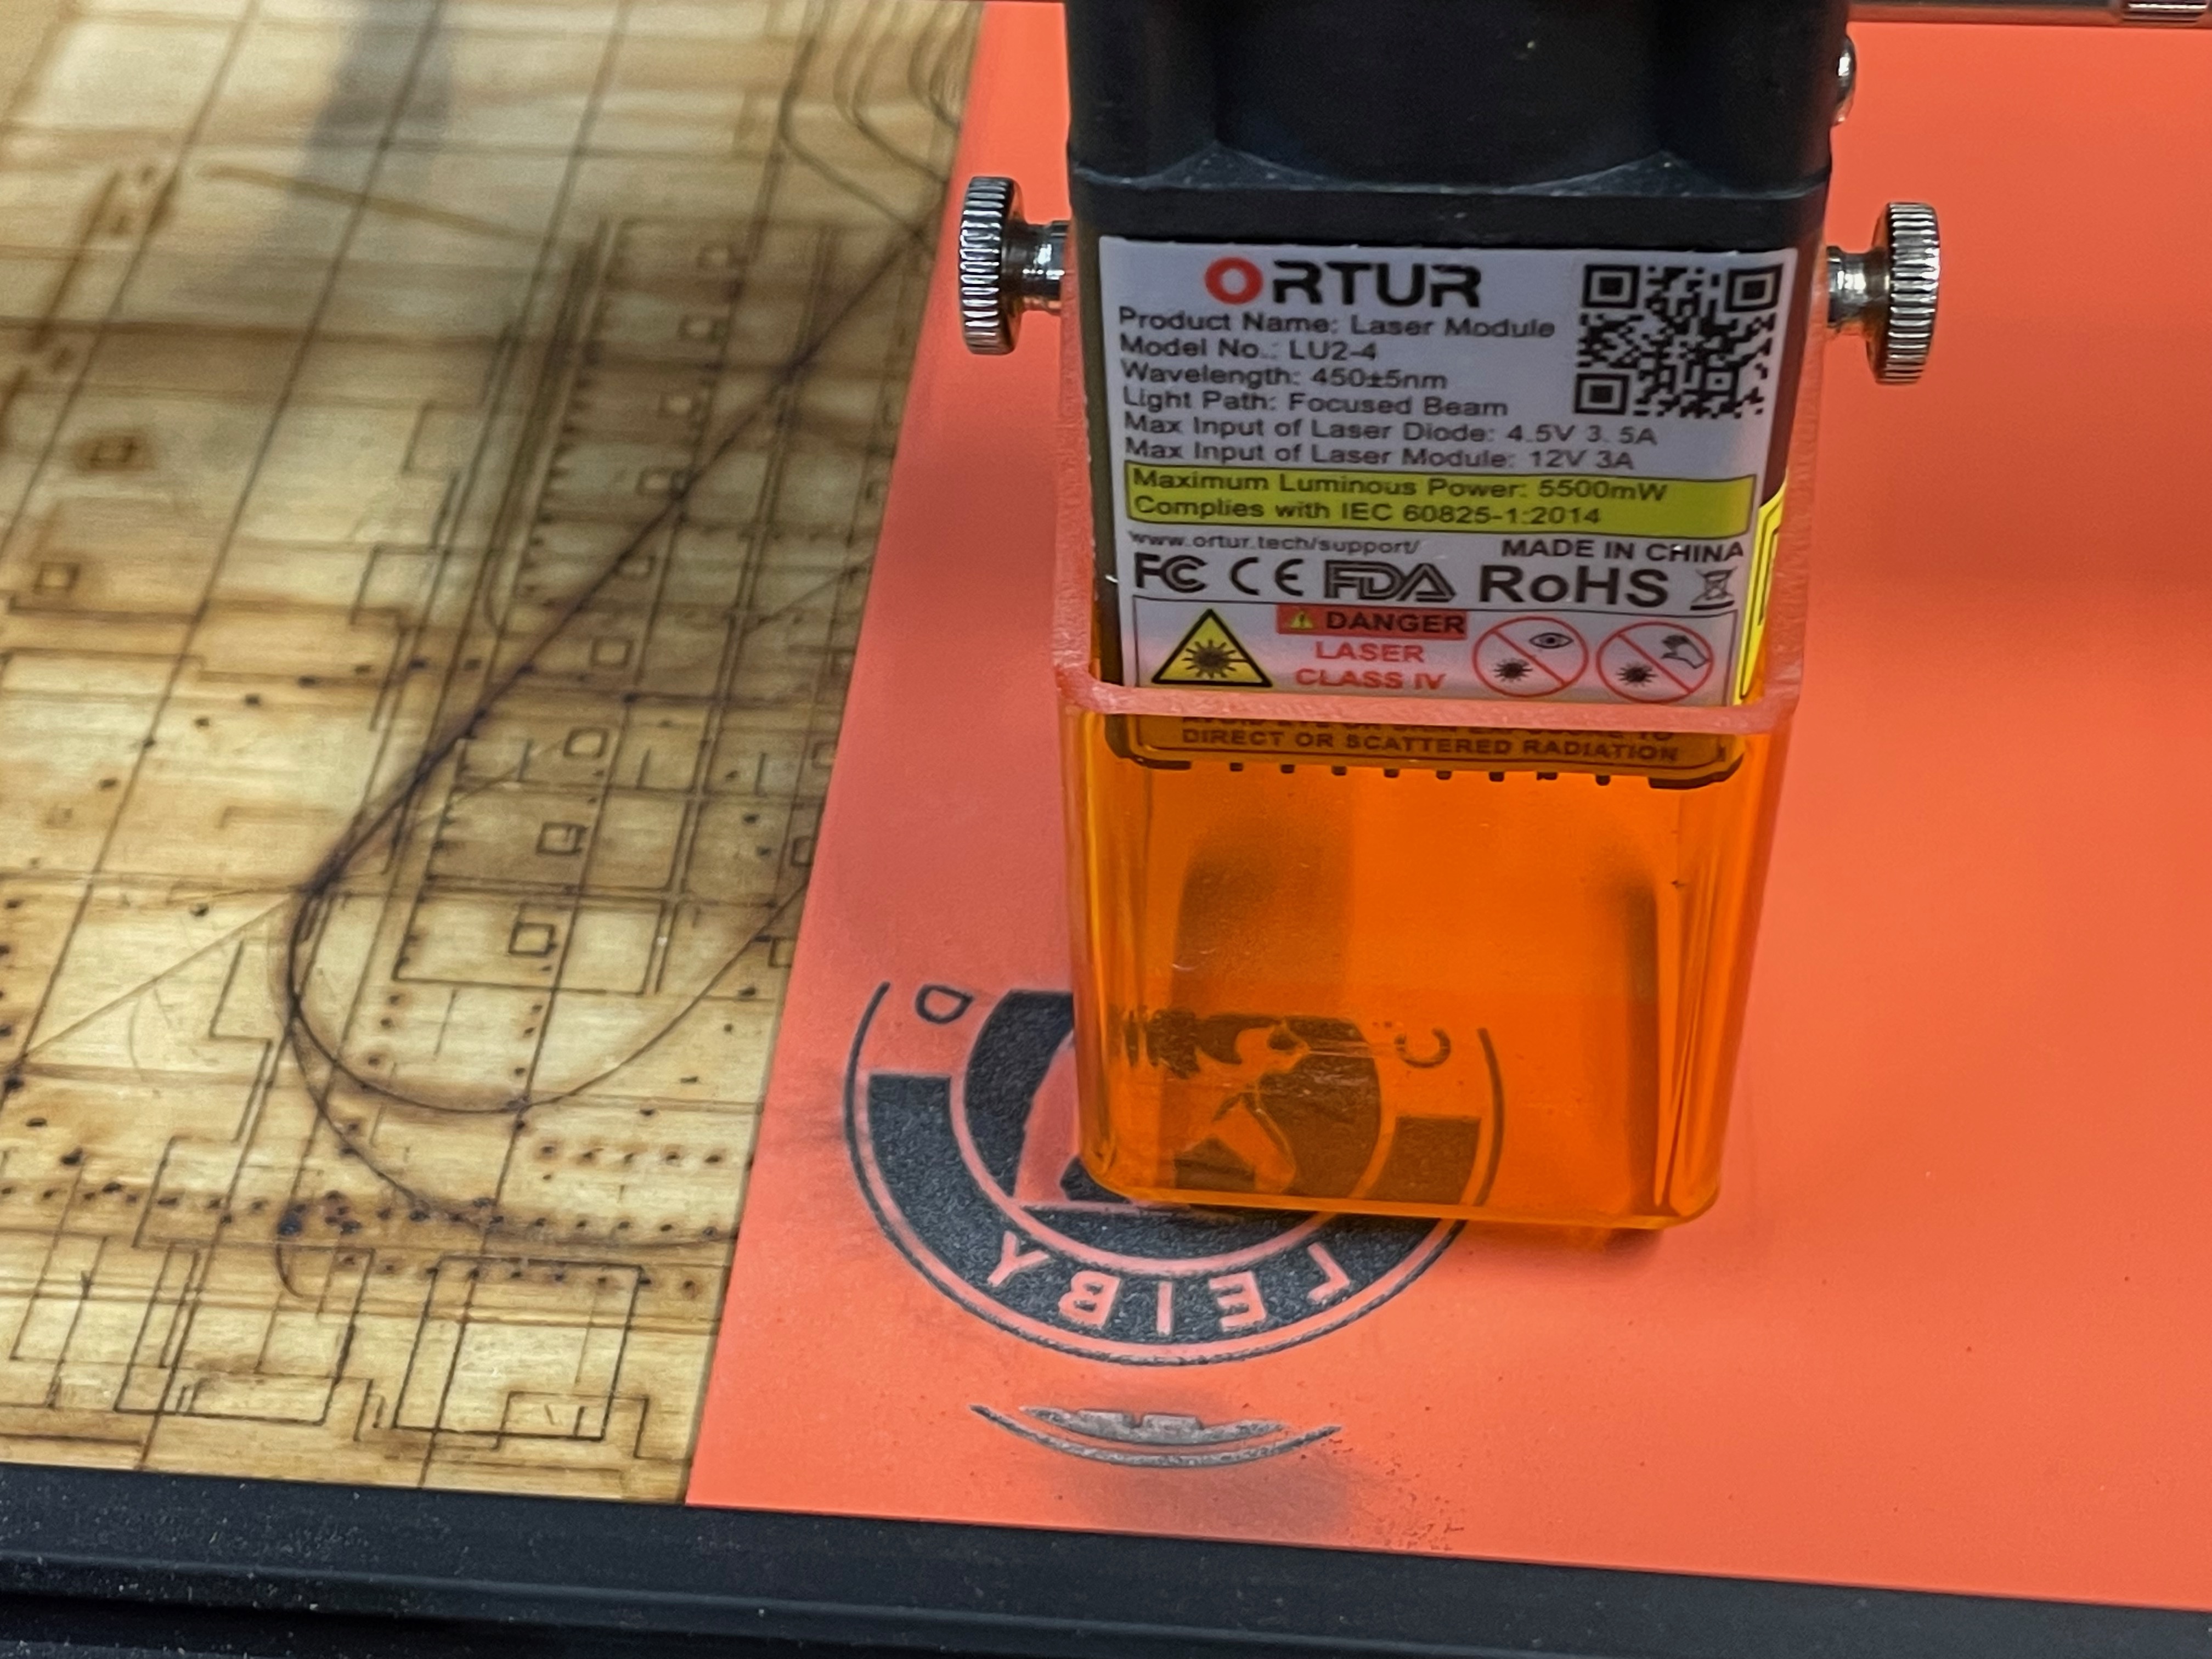
I mean, it’s only like 4 days but I got looking around the youtubes and I stumbled across this: How to Laser Cut Acrylic Stamps! Basically, you can get a sheet of rubber from Amazon that is made for laser engraving. I’ve got the laser engraver already!
The solution
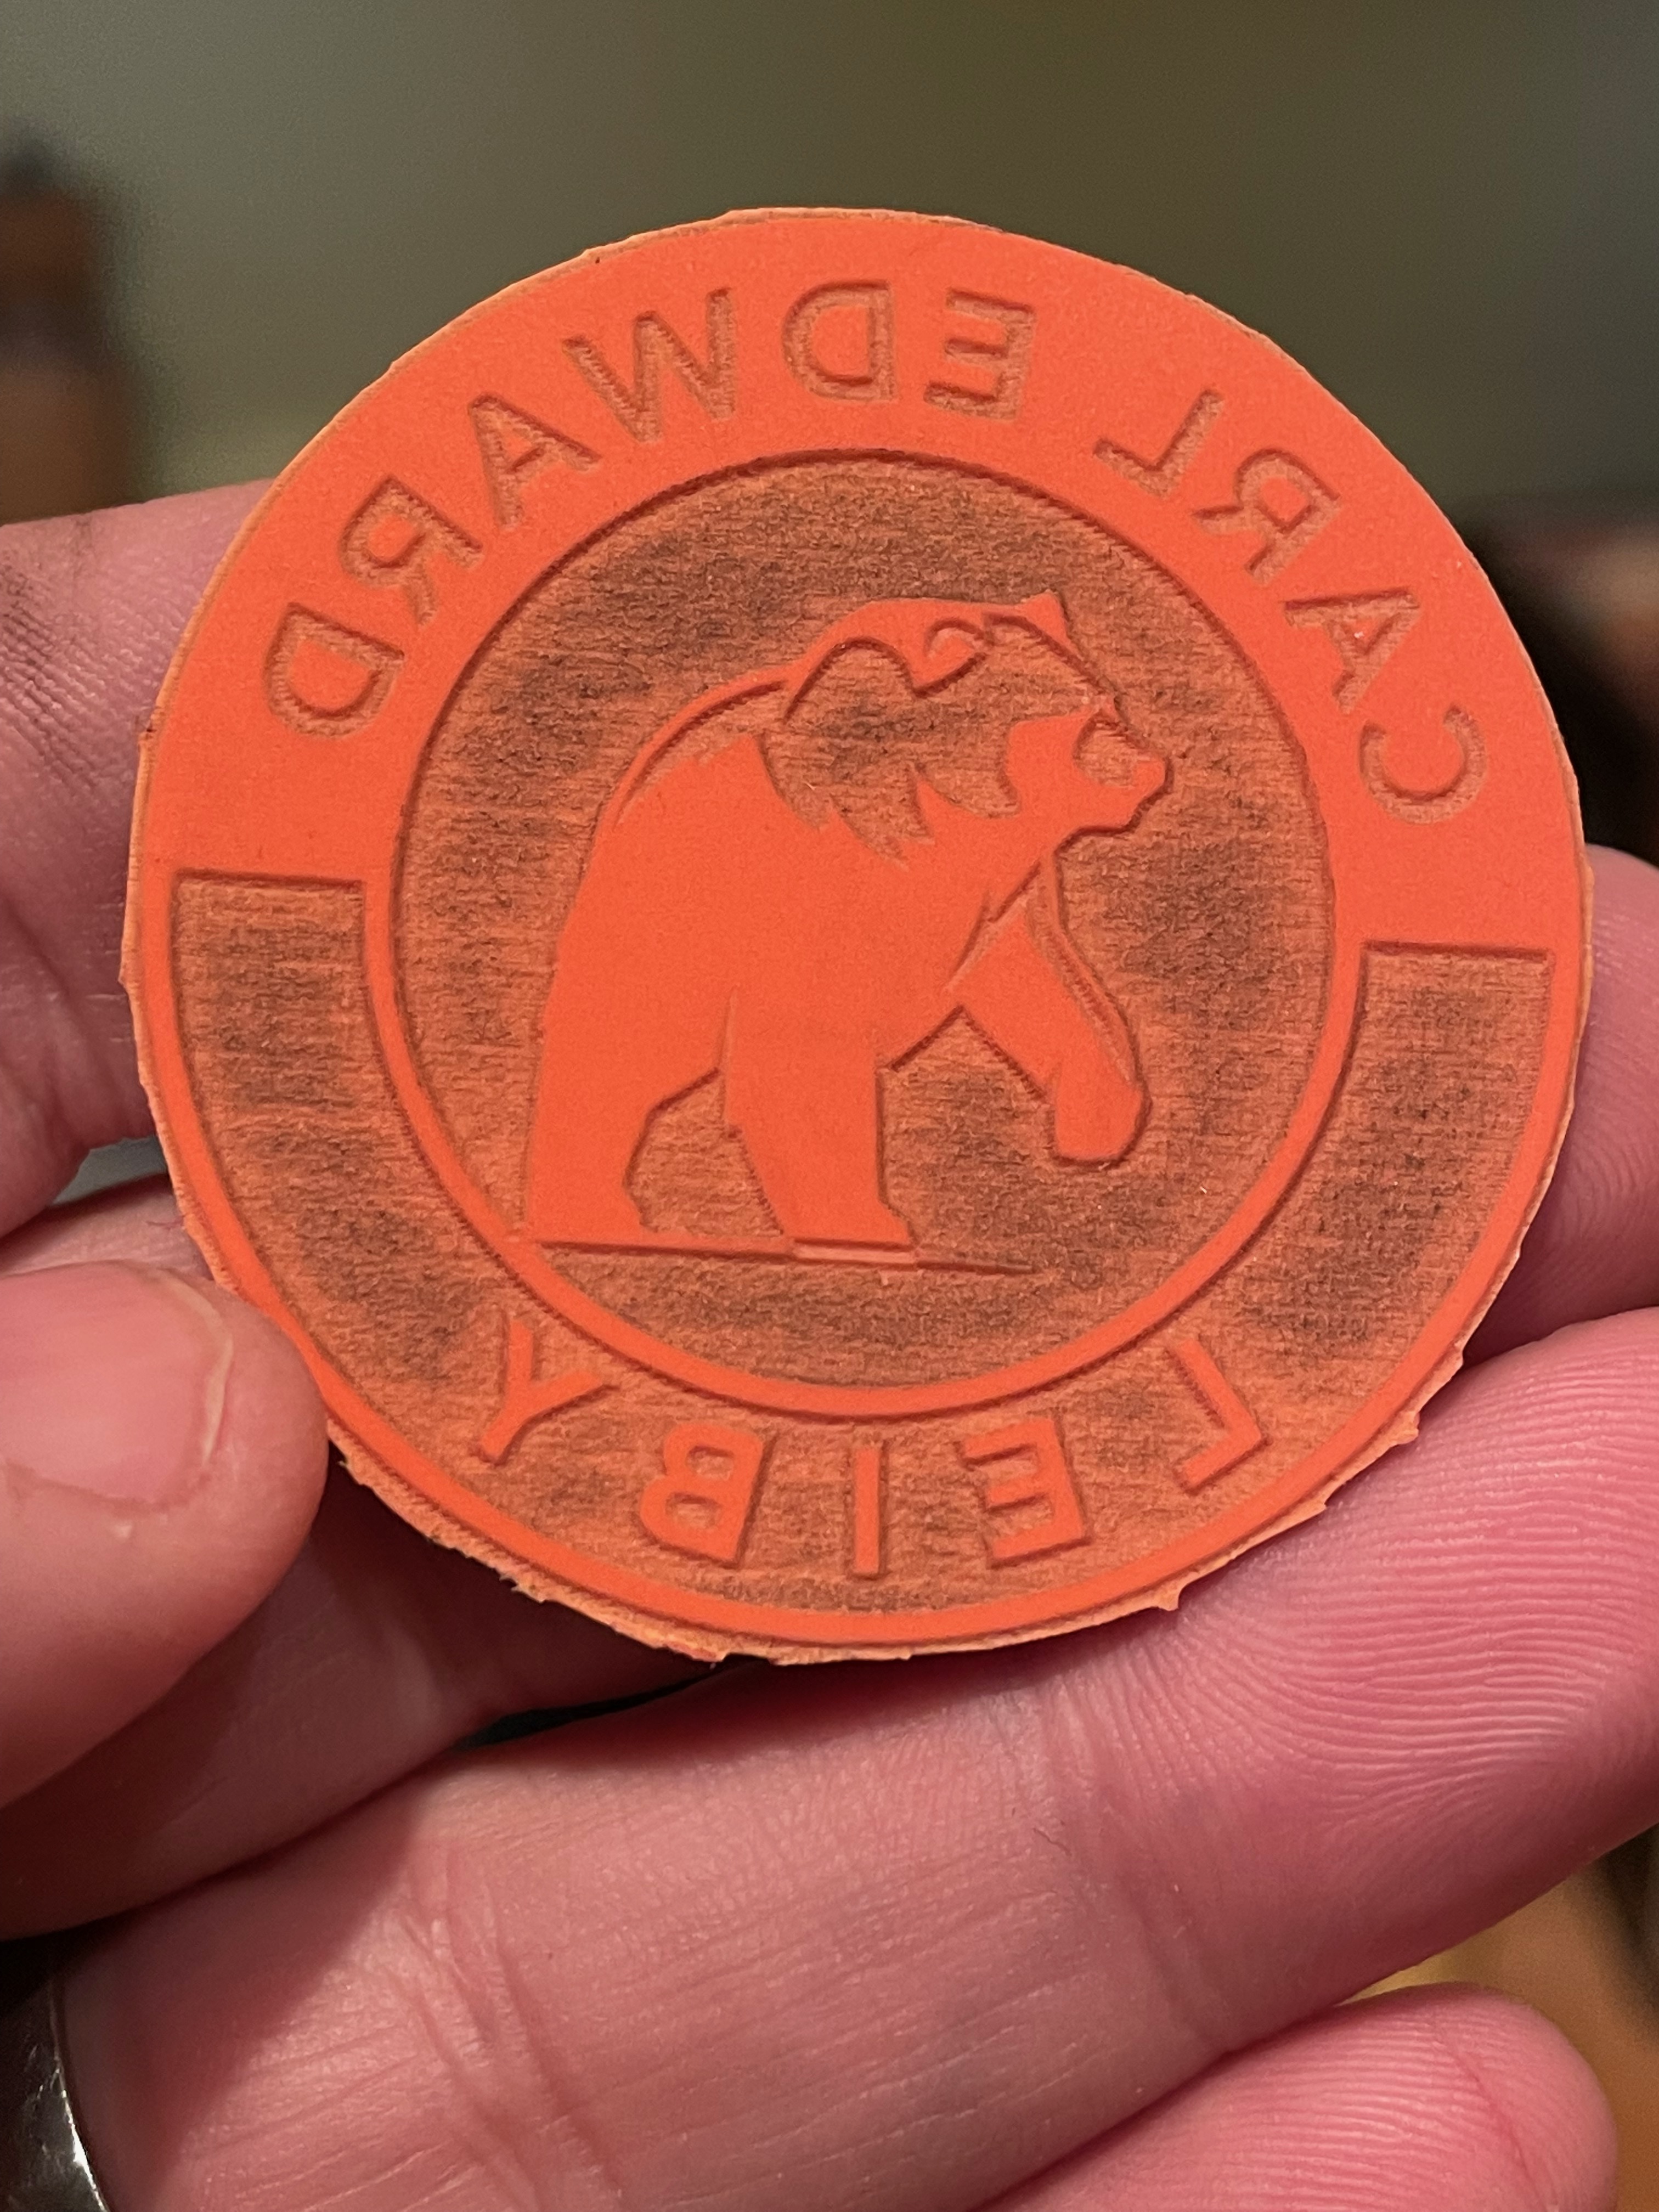
You basically prepare a laser job with the image flipped horizontally. (if there’s text involved) Then you make sure you’re using fill for all the areas you don’t want to stamp. You may need to draw an extra circle or square boundary around your job to get the right bits to be the fill. The key is the ramp setting. In LightBurn there’s an advanced option in the fill settings for Ramp Distance.
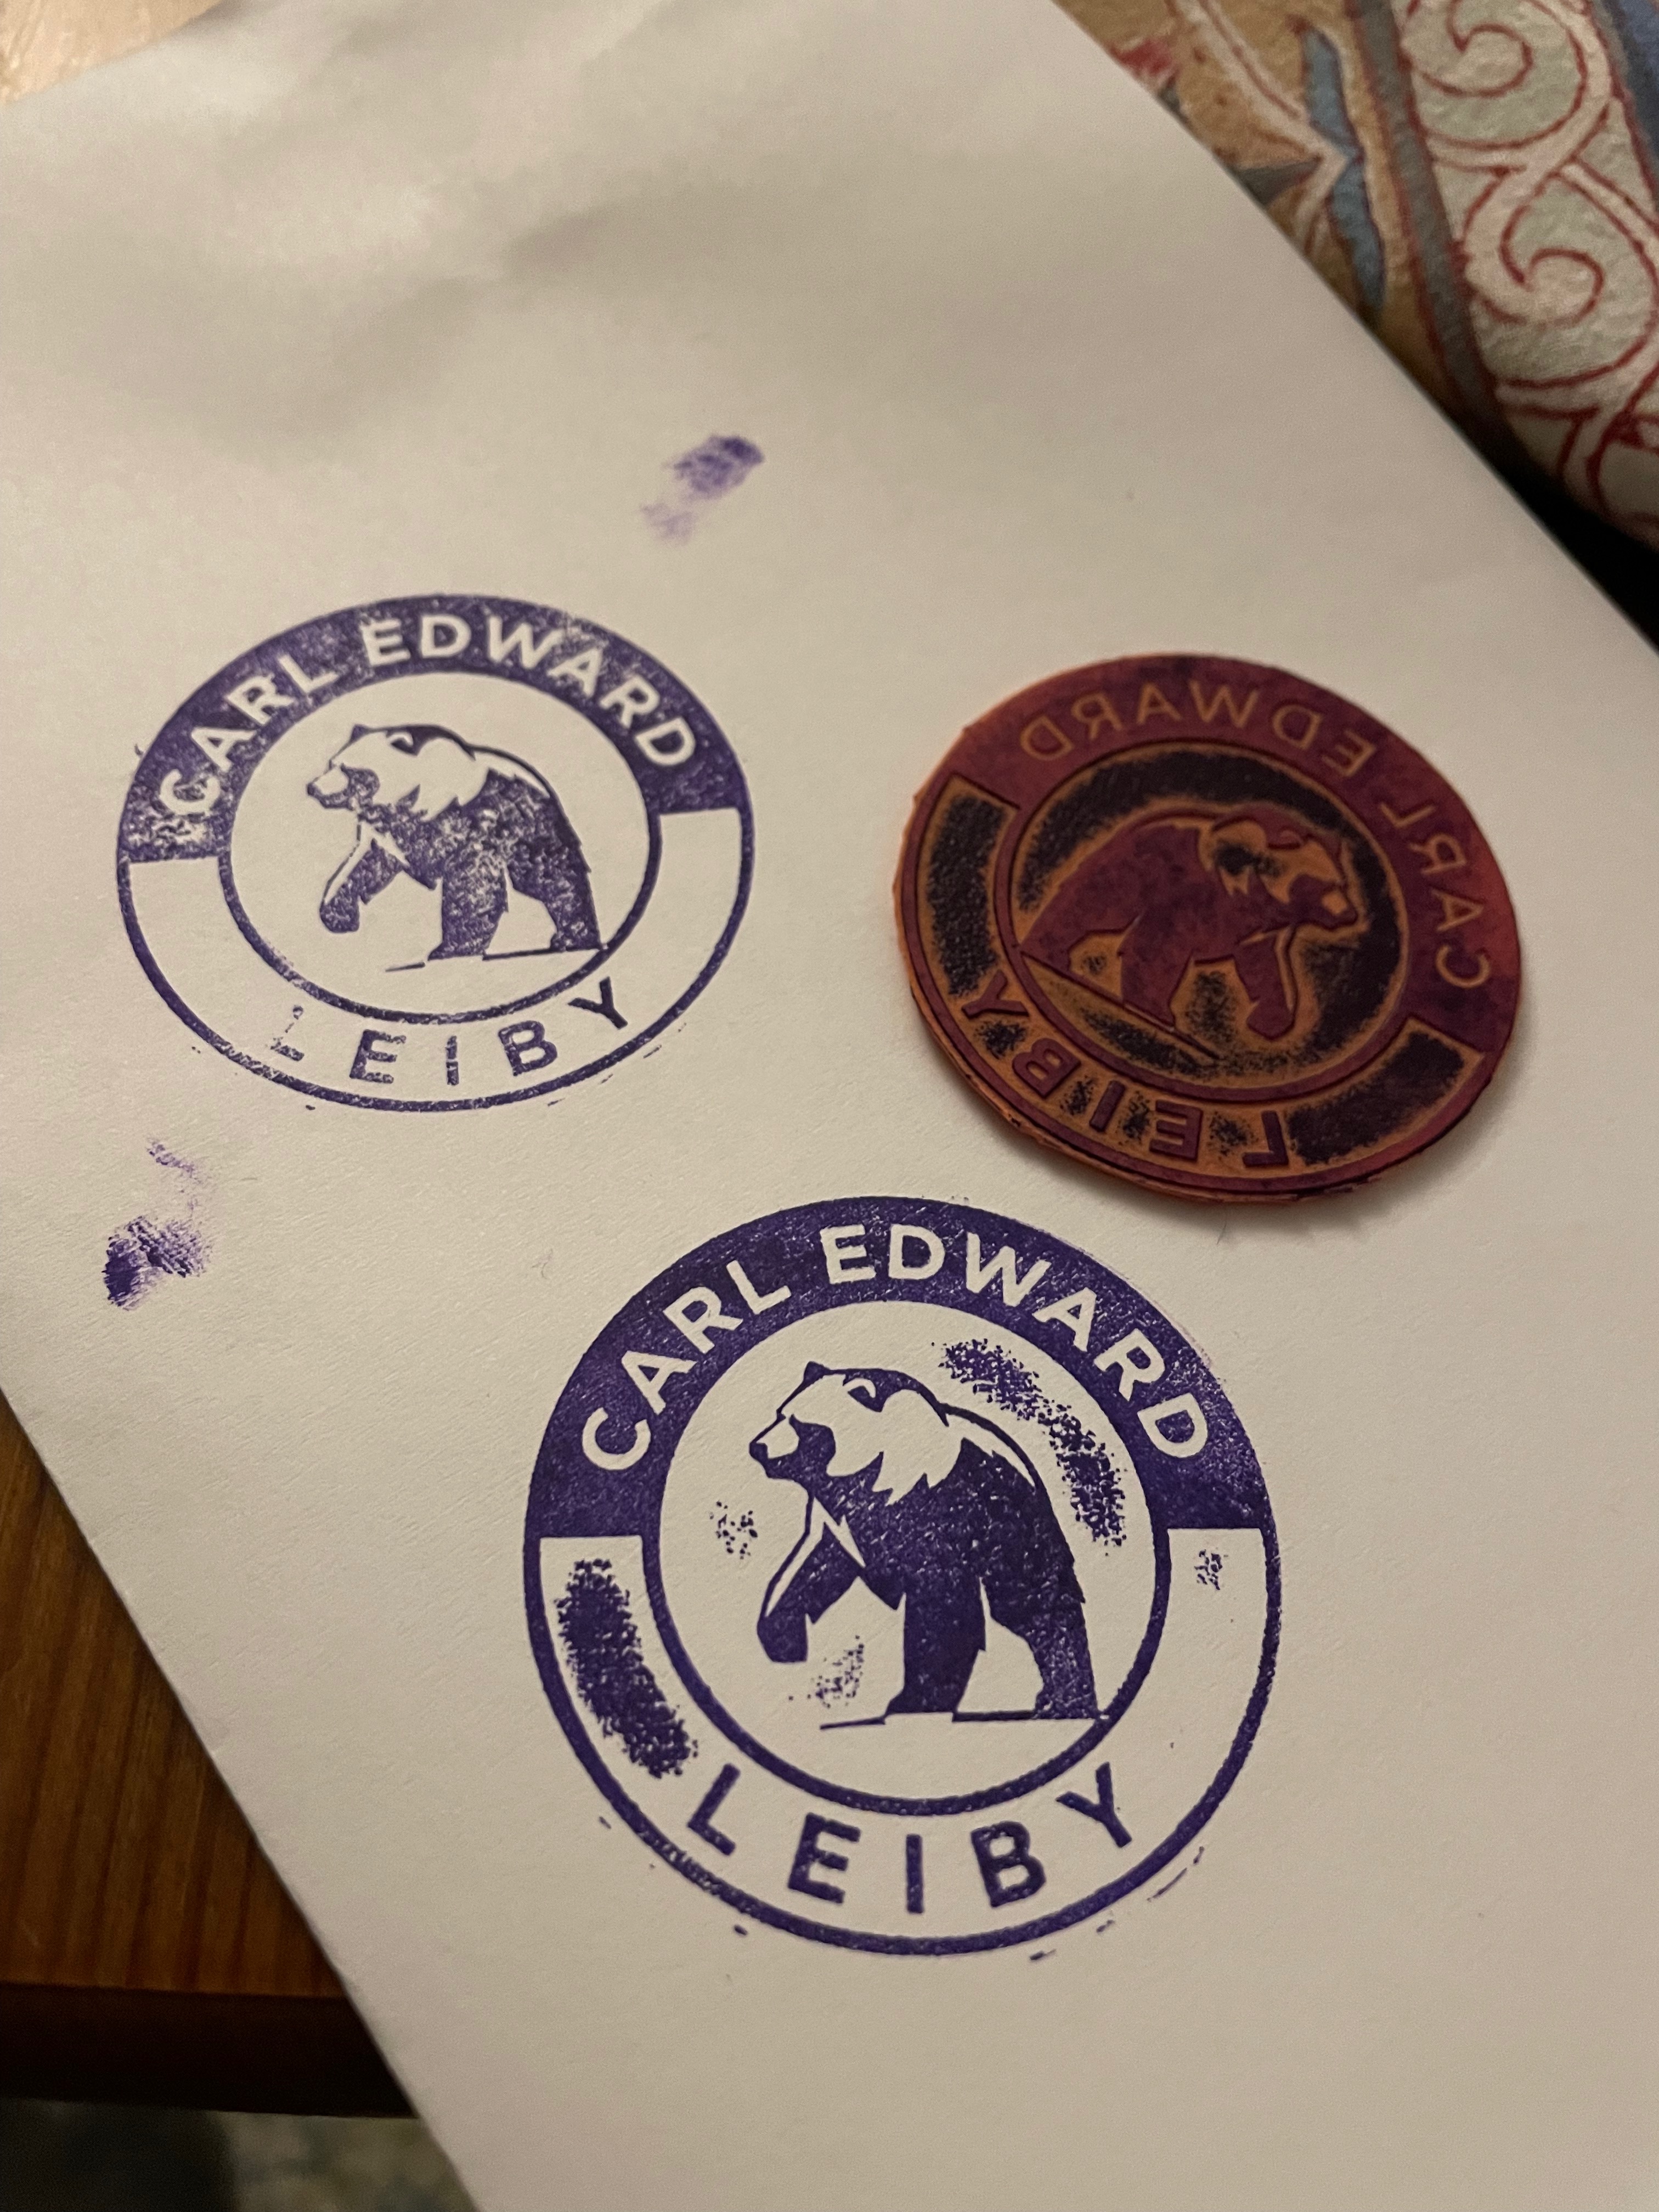
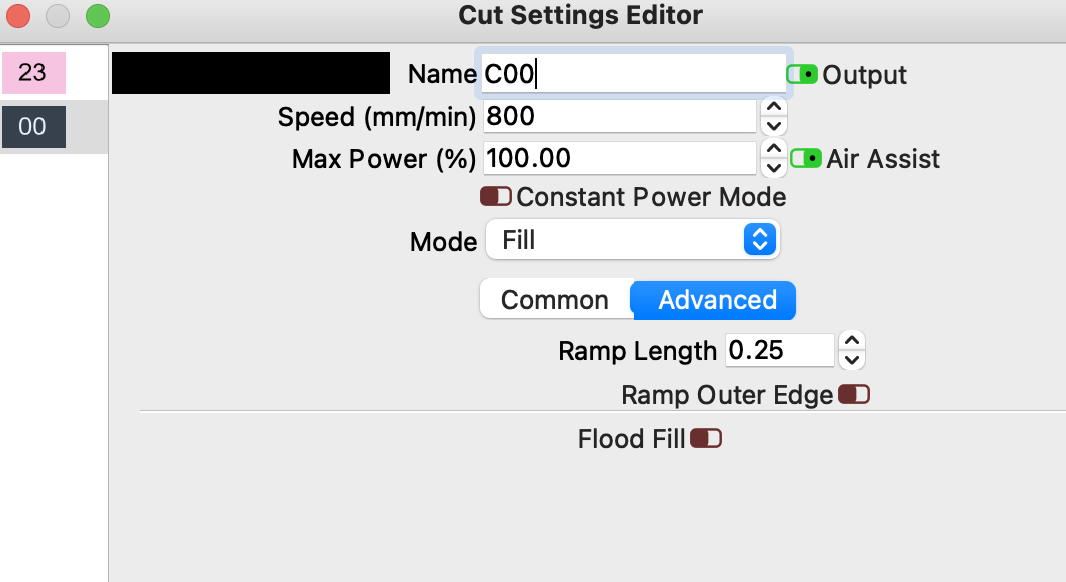 This ramps power up or down on the laser at the edge of the engraving. This gives your stamp a slight foot to support the patch of rubber doing the stamping from squishing side to side in narrow places.
The goose turned out so well I made a stamp of my own.